Installation Guide for Installing Zoom Search Engine for Linux on Amazon Elastic Cloud 2 (EC2)Zoom Search Engine is a software package that allows you to create a powerful custom search engine for your website. It is unlike other search solutions in that it gives you full control over its indexing capabilities, and there are no advertising or annual fees, while being one of the easiest to use and most feature packed solutions on the market. More on the advantages of using Zoom here. Zoom has two main parts. The Indexer software, which runs on your desktop computer (or virtual instance in this tutorial), scans your website and generates a set of "index files". These files are then uploaded to your website and provide the searching functionality. You will also be using the Indexer to update your search engine when you make changes to your website in the future. The following article explains how to install Zoom Search Engine for Linux for your website on Amazon Elastic Cloud Compute (EC2). We provide this tutorial to explain some common details and steps to get a working Zoom Search Engine up and running, and integrated with your web site as quickly as possible. An EC2 instance is a virtual web server that can be rented from Amazon. Prices are priced per hour and exact cost will vary depending on the power of the instance you use. There are many books and tutorial out there that will provide you more background on hosting and setting up your website in the Cloud, including the documentation provided by Amazon. This tutorial below is a quick example on how set up Zoom Search Engine on an EC2 instance, it may not follow the best practices for a website in general. (You should tailor your website to your security needs.) What you will need
Zoom is free for small websites of up to 50 pages. For larger sites, commercial editions are available, with the Professional Edition being the most popular, which indexes up to 50,000 pages. Detailed comparison of the different editions available can be found here. Starting an EC2 instanceWe will use an instance of the Ubuntu Server AMI based on Elastic Block Store (EBS), EBS gives you more options for backing up your disks later. The particular Ubuntu AMI used in this tutorial is based on 14.04 LTS.
You can choose the instance type that will best suit your site, in this example we will choose "t2.micro". Continue to configure your web server instance or accept the default settings. You can always go back and change it later. The only necessary change needed for now is under "Configure Security Group". We will set up two inbound rules. One to allow SSH connection to our instance and the other is to open port 80 to HTTP traffic. You can also add a third rule to allow HTTPS traffic if you want to set up Zoom behind HTTPS. Review your instance settings and click Launch. You will be prompted to select or create a new key pair. Save the private key in a safe place as you'll need it to every time you connect to the Linux instance via SSH.
Connecting to your EC2 instance via SSHIt may take a couple of minutes after launching your instance to finish provisioning before you can connect to it. You can check your instance status on from the EC2 Dashboard. Before you try to connect to you instance, you will need to have completed or obtained the following:
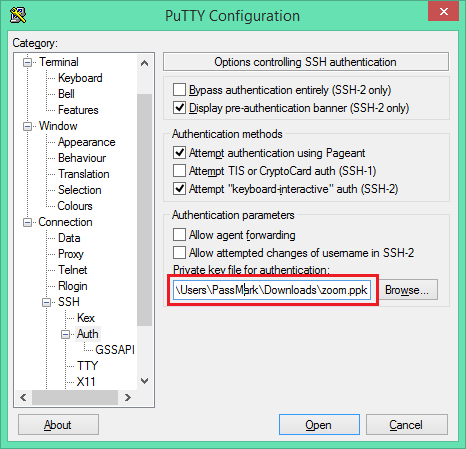
Full instructions to connect to your instance can be found in the documentation here from Amazon. Your username for an ec2 instance using the Ubuntu AMI will be Ubuntu and no password will be required if you have the private key set up correctly. Accessing ec2 instance using PuTTY SSH client. PuTTY does not use .pem files, it uses .ppk files. In order for the key to work with Putty on Windows you need to import it using PuTTYgen. In the Host name box, enter ubuntu@public_dns_name. Under connection type, select SSH. Ensure port is 22. Expand Connection > SSH > Auth and Browse to your .ppk file. Click Open to start the PuTTY session.
Setting up the web serverOnce connected, the following procedure will help you install Apache web server with PHP support on your Amazon EC2 Ubuntu Instance. Some users may find it beneficial to install MySQL as well, but this is not a necessary requirement for Zoom Search Engine. For more information about LAMP (Linux-Apache-MySQL-PHP) web servers on Ubuntu, go to the Ubuntu community documentation ApacheMySQLPHP topic. Ensure your software packages are up to date, perform a quick software update on your instance. $ sudo apt-get update Install Apache and PHP. $ sudo apt-get install apache2 Restart Apache so that all of the changes take effect. $ sudo service apache2 restart That's it. To check if Apache is installed, direct your browser to your server's IP address (eg. http://123.456.7.89). The page should display Apache2 Ubuntu Default Page.
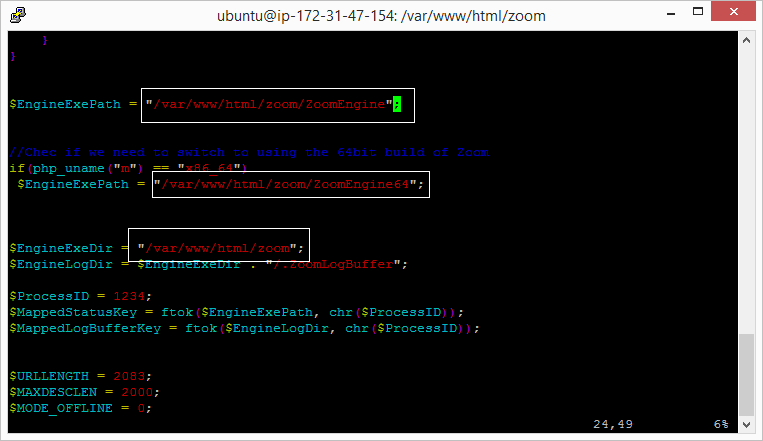
Installing Zoom Search Engine for LinuxWe will use wget to download the Zoom Search Engine for Linux package from the official download location. $ wget http://www.wrensoft.com/ftp/zoom_linux.tar.gz Uncompress and unzip it to our Web Server folder*. $ sudo tar -zvxf zoom_linux.tar.gz -C /var/www/html * Your Web server folder may be located at a different location, refer to you Apache configuration file for exact location. Navigate to the uncompressed Zoom Search directory and run the install script. $ cd /var/www/html/zoom Update the zoom_defines.php file to make sure the $EngineExePath and $EngineExeDir is pointing to the correct location.
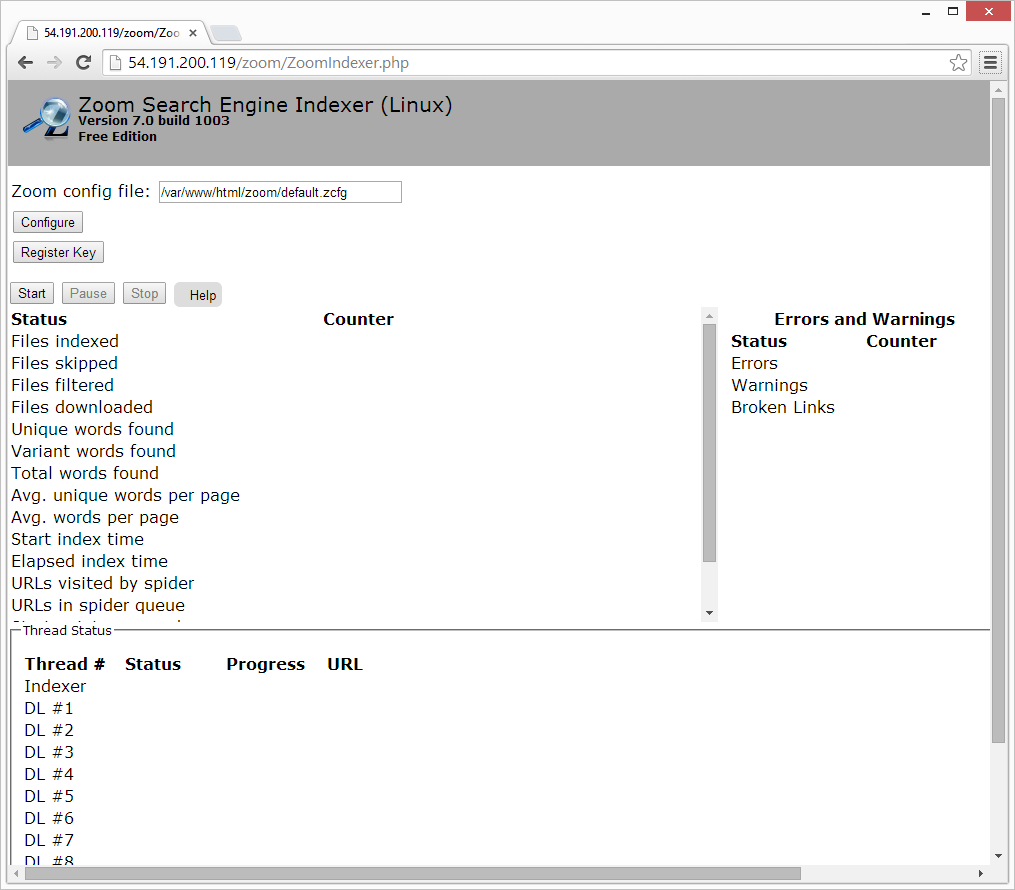
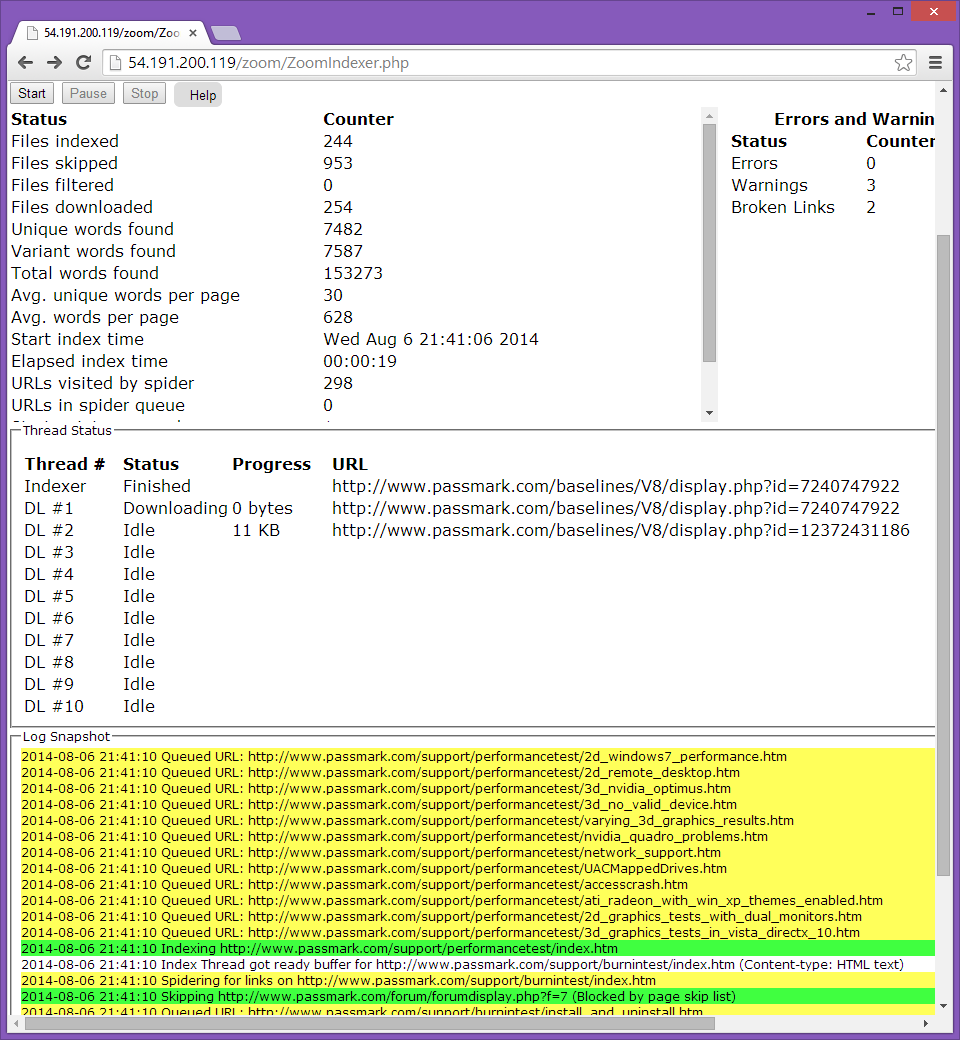
Using ZoomYour installation of Zoom Search Engine should now be installed on your virtual web server. You can access the indexer through your browser. Navigate to the ZoomIndexer.php page (e.g. http://123.456.7.89/zoom/ZoomIndexer.php) on your web install. You can proceed to Configure the Indexer and start your index.
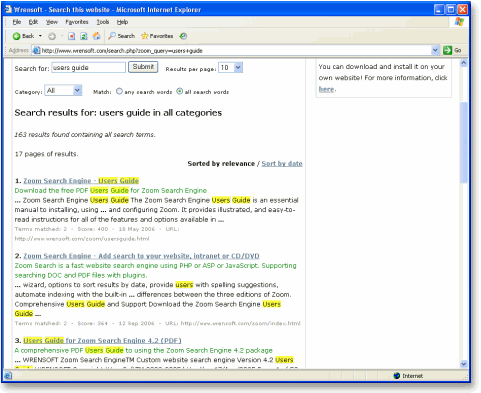
We recommend referring to the Users Guide for most instructions. There are many options and configurations possible with Zoom which you can fine-tune to your heart's content, including highlighting, categories, and more. Please download a copy of the Users Guide for more information.
Once the files are correctly uploaded, you will be able to access your new search engine by entering in the URL to the search page in your web browser. For example, if you outputted your files to a sub-folder named "zoom" in your web folder, your new search page will be at http://123.456.7.89/zoom/search.php Enter in some search words and give it a try!
What now? Next steps...With your search file created and tested. You'll have a couple of options on how you to proceed. The choice will depend on how you want to be able to access your search.
Finishing up...While these instructions were geared towards Amazon EC2, this tutorial can also be used for other dedicated Linux hosting site. However, Zoom Indexer for Linux on shared hosting is not recommended as you will probably lack access to the command line to set it up. If you do have your Zoom Indexer located on your web server, you should take proper precaution to secure it from being accessed by anyone on the internet (i.e. behind authentication or via .htaccess). If you wish to use Zoom Indexer in a Windows environment, you can also set up and install Zoom Search for Windows in an EC2 instance running Windows Server. TroubleshootingIf you have any problems with indexing your website, you should refer to our extensive online support section for help. There is also a Discussion Forum for seeking and sharing tips and advice.
Return to the Zoom Search Engine website |